ASTPP (4.0) installation
By Yevgeniya Suminova on 2021-03-10
Updated by
Yevgeniya Suminova on 2021-03-19
Contents
Prerequisits
1. VPS server Centos 7
2. To know how to point domain/subdomain to an IP
Note! Everywhere where the info is highlighted with yellow, you need to replace it with your data (IP or domain or whatever else).
Procedure
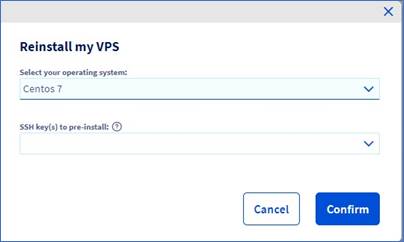
1. Order /reinstall a VPS with Centos 7 operation system.
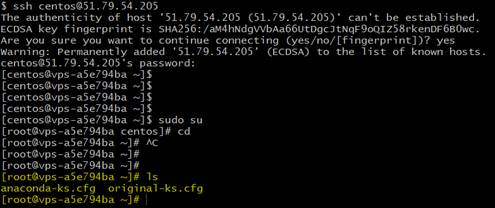
2. Enter via SSH to the server.
Please note, everywhere where the info is highlighted with yellow, you need to replace it with your current data!
ssh centos@51.79.54.205
3. Change to root user
sudo su
4. enter to the root directory
cd
5. type “ls”. This is what you must see:
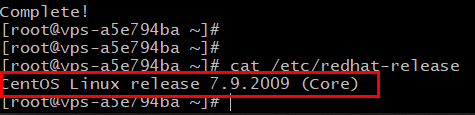
6. Check your OS version
cat /etc/redhat-release
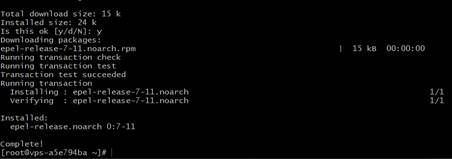
7. Run following command:
sudo yum install epel-release
8. Confirm by “y”
9. Install wget. (Confirm with “y”)
yum install wget
Remark! In case wget gives an error, just try it again (the same command)
10. Run the following:
wget https://raw.githubusercontent.com/iNextrix/ASTPP/v4.0.1/install.sh -O install.sh
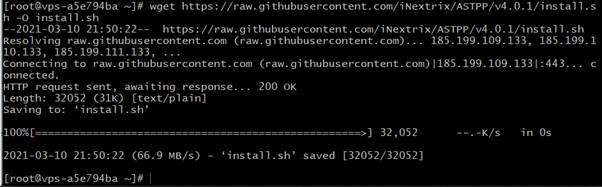
Remark! If the link “raw.githubusercontebnt.com……………” does not work, you need to upload on your server this install.sh file in the root directory. Then proceed with next steps.
11. Check it is downloaded
ls

12. Give permission to the file:
chmod +x install.sh
13. Proceed with installation
./install.sh
14. Process seems freezed at this point:
Just wait, it will continue in a while. Do not type anything
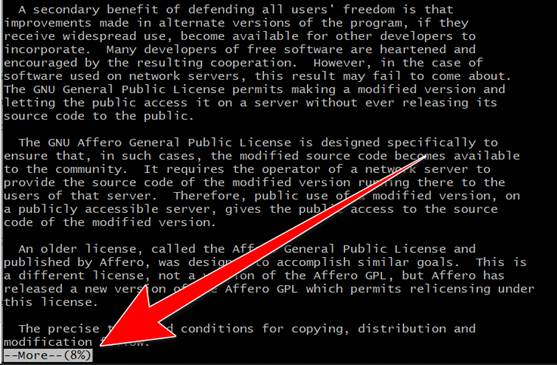
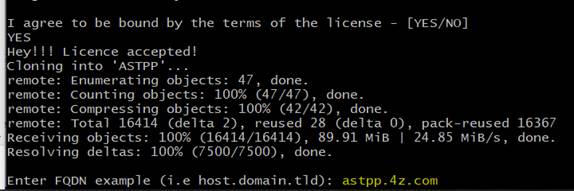
15. You need to agree with the license. Hit Enter until you reach 100%
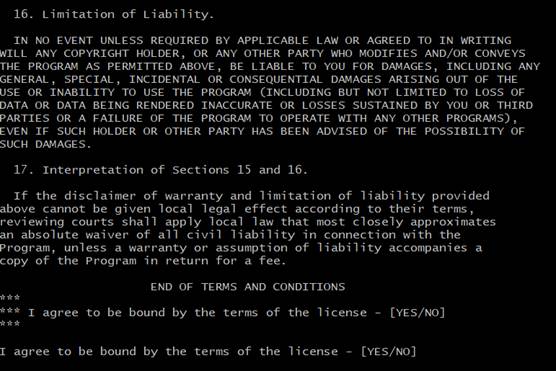
16. Type “YES” and Enter
17. Enter domain
18. Enter email address. I took contact@4z.com
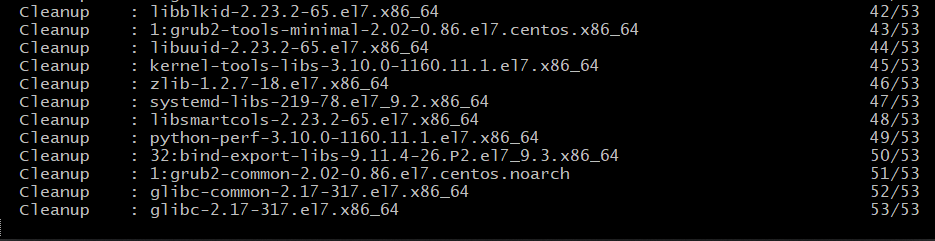
19. It will take a while and will install different packages: Mysql, then FreeSwitch and other packages and dependencies as well
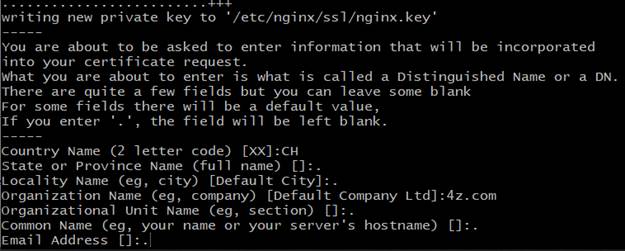
20. You will be asked to enter some information like Country, email, etc… See the screenshot and do the same
21. You will be asked: Do you want to install and configure Fail2ban ? (y/n) => Hit “y”
22. Fill fail2ban@4z.com for both client’s and sender email addresses:

23. You will see the following passwords. Save them and do not lose them, else you will not be able to enter the database!!!!
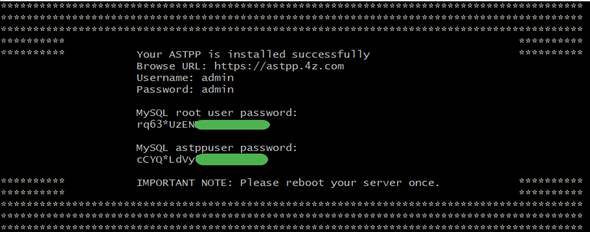
24. Reboot your server:
systemctl reboot
25. At this step you should point your domain/subdomain to your astpp server’s IP address. We do not explain in this document how to do it. But you can use these instructions that should help you
If/when your domain/subdomain points to your asttp’s IP, then continue with the next steps.
26. Login back to the server via ssh
ssh centos@51.79.54.205
27. Now we need to generate SSL certificate. For that, install certbot:
sudo yum install certbot-nginx
28. Generate the certificate for your domain
sudo certbot --nginx -d astpp.4z.com
29. It will request you for the email address. Use contact@4z.com
30. It will ask you the following;

31. Type “Y”
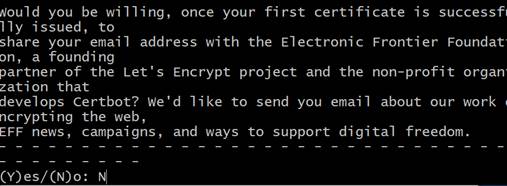
32. Type “N” for the next question:
33. You will see “Congratulations!” if it is successful.
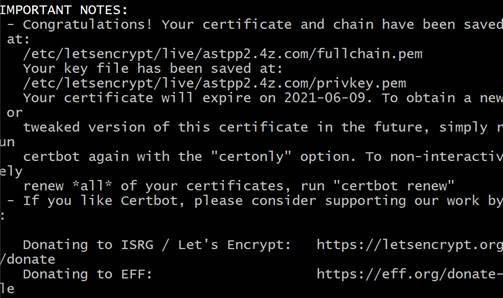
34. You are done with installation!
35. Now go to web interface https://astpp.4z.com and change admin’s password
References
Video instructions used: https://www.youtube.com/watch?v=fFIuCyEMEq4
End of document
© 4z.com