Updated by Sonja Guicheux on 2020-05-08
Created by Sonja Guicheux on 2019-09-12
Table of Contents
https://www.youtube.com/watch?v=igjhI1CUoLU
Introduction
This document will explain
how to configure model GRANDSTREAM DP715.
Documentation
In the case of fraud
attack customer is obliged to change VoIP password. Sometimes he needs to
change a sip number.
But sometimes customer cannot
access on grandstream interface with default password. In that case he must
reset base.
Let start with changing
VoIP password first.
Configuration
Change password
Customer can change his VoIP password by himself. How? Simple
1.
Log on account from our website:
https://www.switzernet.com/home/
Login = your phone number or your email
Password = your password for login ( it’s not
same login password and VoIP or service password).
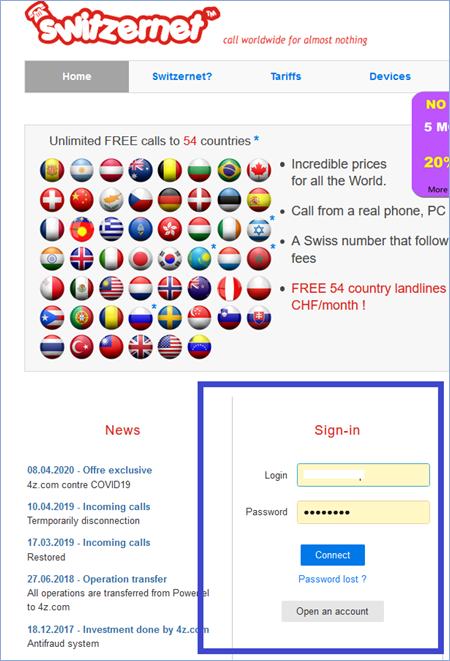
Now you are at your account .
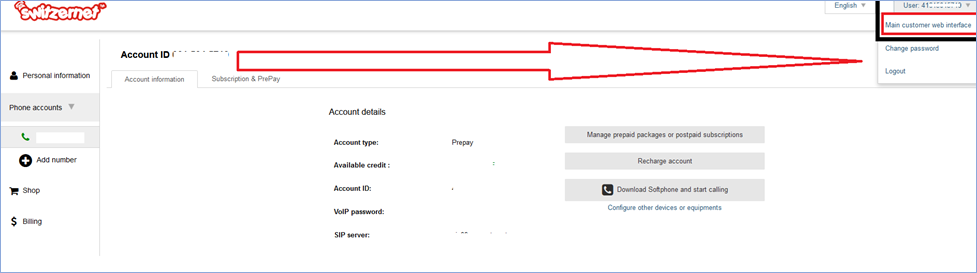
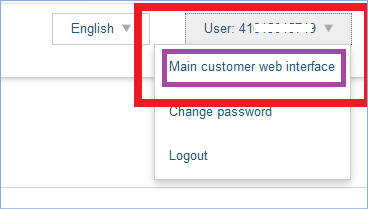
2.
Click on User 41….( your phone number) at right corner up.
3.
Click on Main customer web interface to access on your
porta billing account.
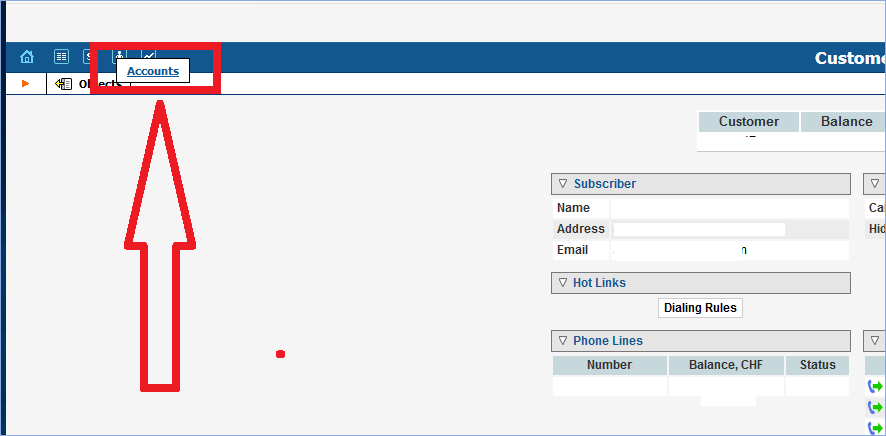
4.
Put cursor on small man
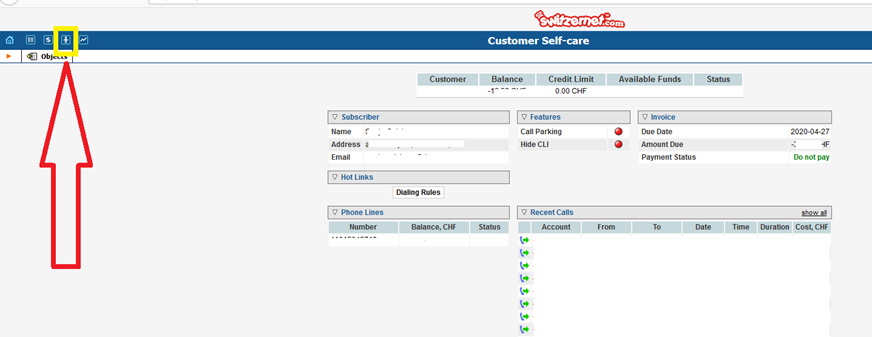

Front of you will be written Accounts.
5.
Click on Accounts.
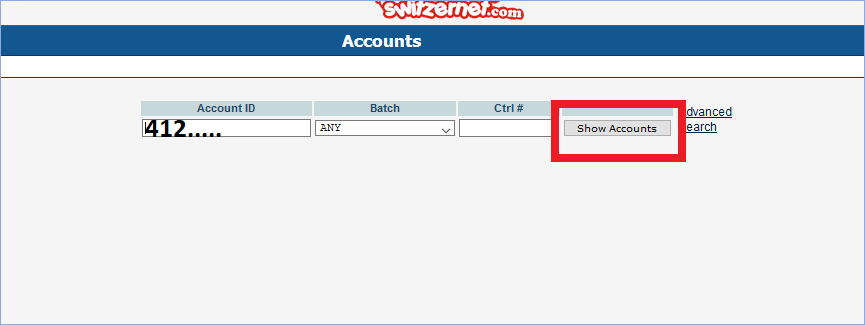
Here you must type your phone number for which you
want to change VoIP password.
6.
Type your number and click on Show Accounts.
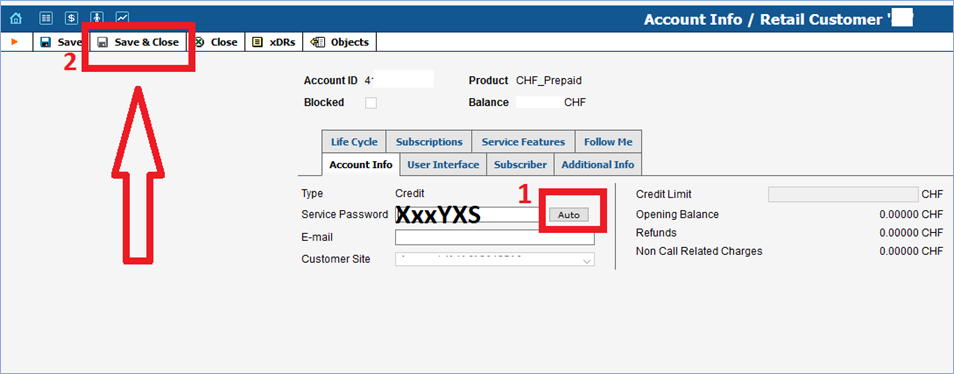
7.
Click on Auto to change service / VoIP password (
service password and VoIP password are same thing).
8.
When you change password click on Save and Close.
9.
Now unplug from electricity and after 2 minutes plug again.
In the case that it does not work on this way (
something is written on display), you are obliged to change VoIP password
manually from grandstream interface.
For that you need IP address.
Manual configuration
Find IP
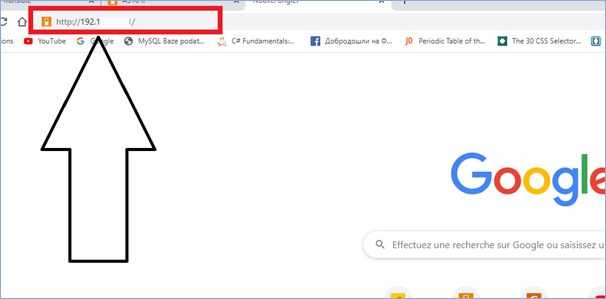
1.
To find ip on dp715 call ***02#
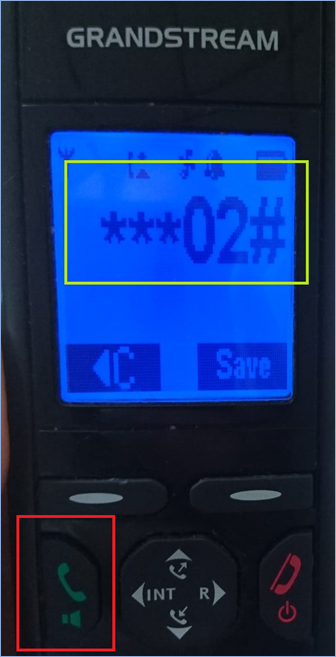
2.
Listen your IP address, write on paper or directly in browser
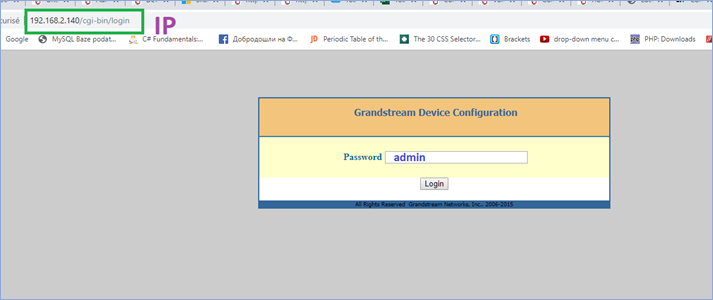
Password per
default is admin.
In case that
you cannot login with default password , you must reset the base. Here
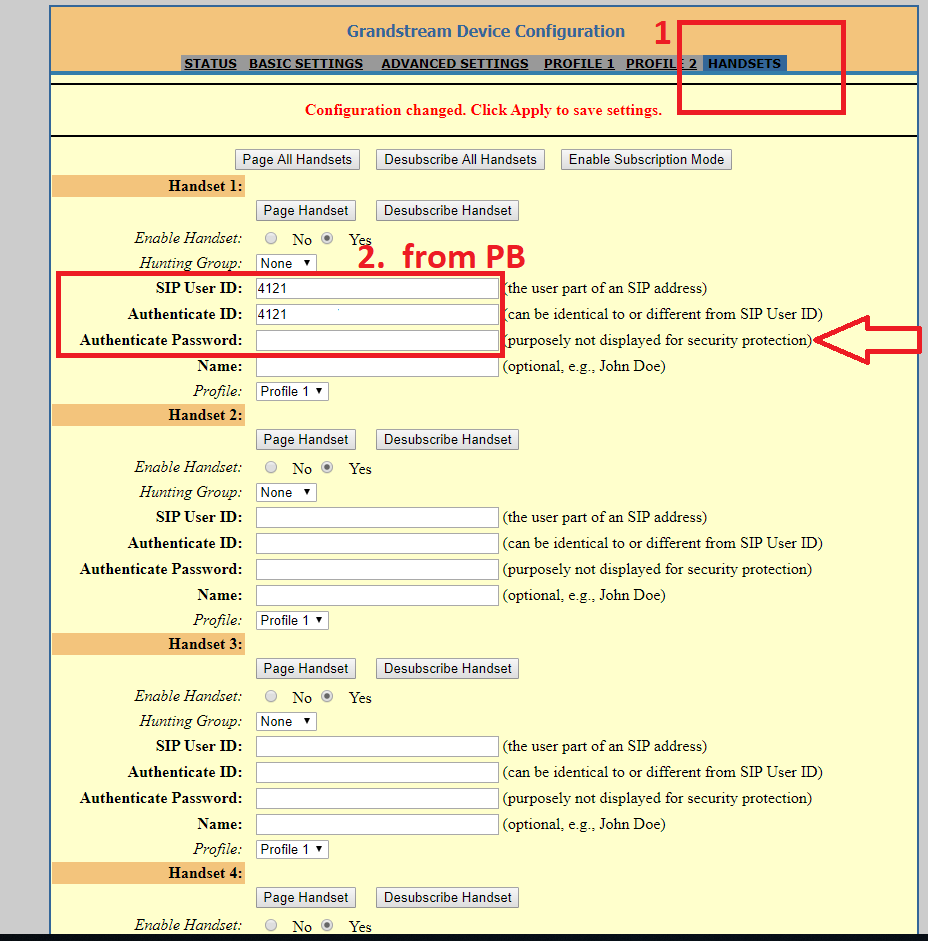
1.
Click on HANDSETS
2.
From PB (PB = porta billing) take your VoIP password which
you just change.
3.
Fill areas
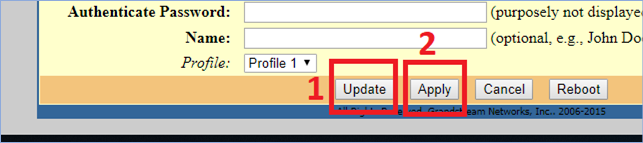
4.
Click Update
and Apply
Change SIP number
5.
Go on Profile 1
6.
Here you can change SIP number if is necessary
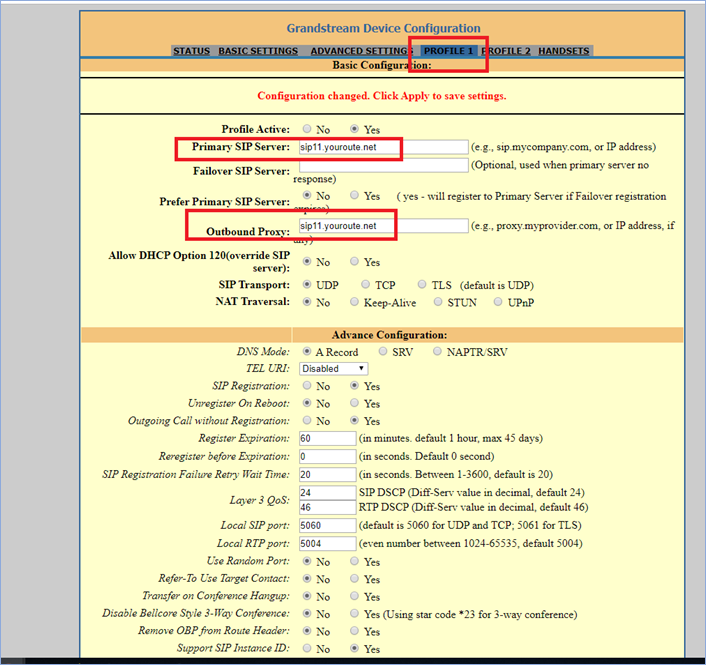
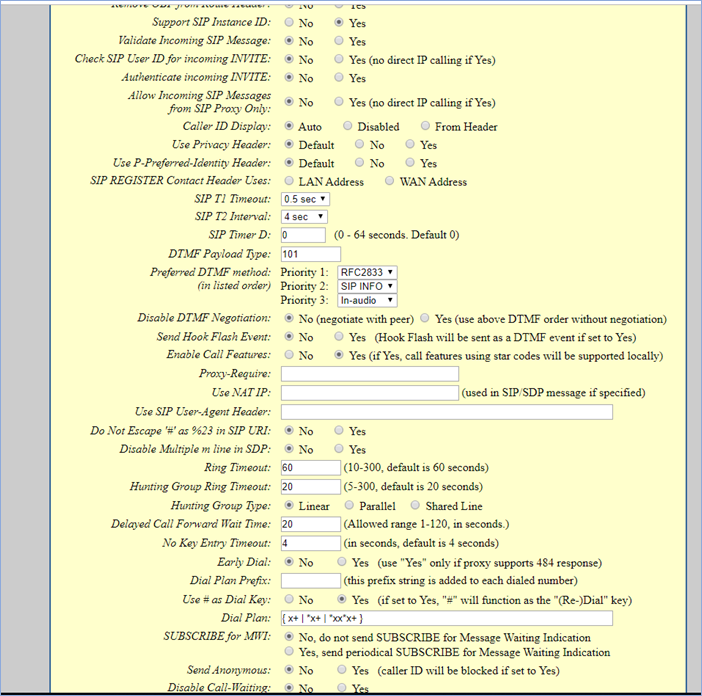
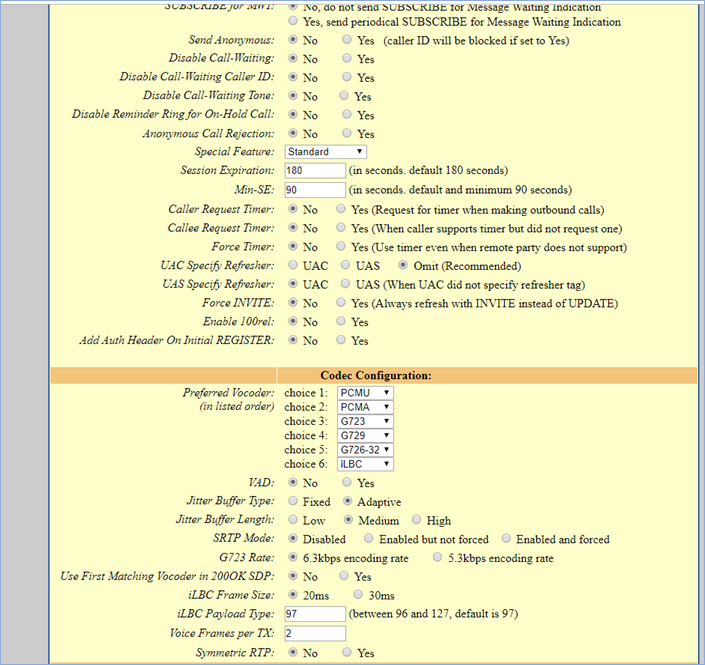
Rest leave like on photos
below
3.
Click Update and Apply

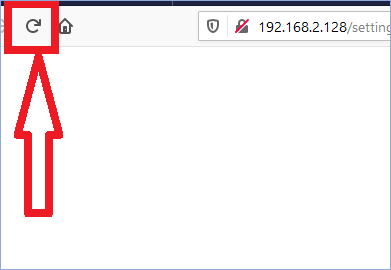
4.
Refresh your page
5.
Now check if your device is registered on page Status
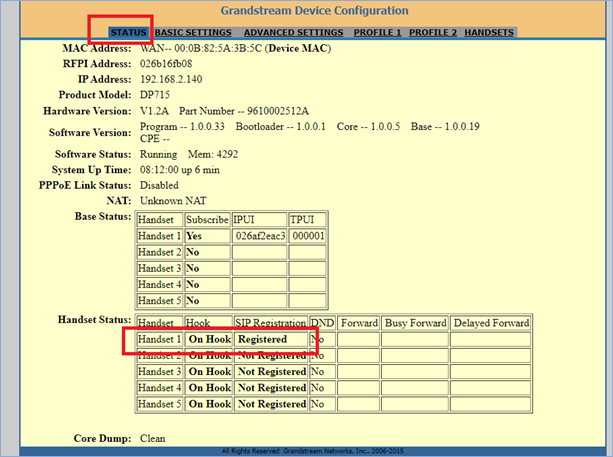
If you made all like on
instructions above, your device will be registered.
Factory settings
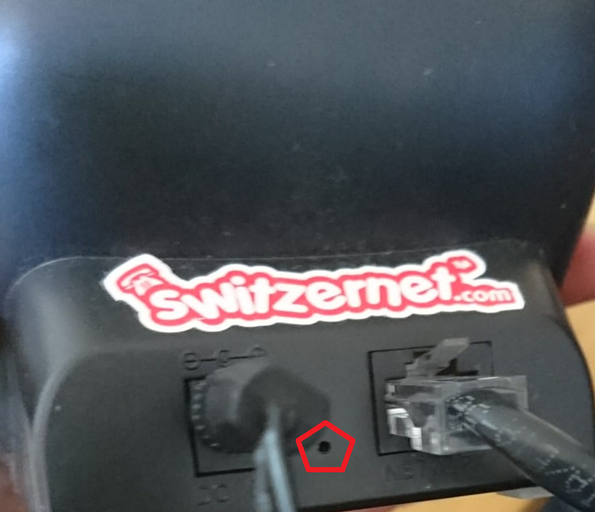
Reset Base
On base of device you can
see pin hole ( like for sim card on iPhone)
1.
With paper clip you reset (keep like that 10 sec then pull
out). Now we reboot on factory settings.
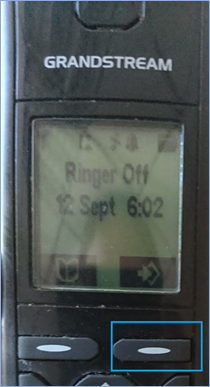
Reset handphone
1.
Press right button with white line ( blue square on photo
below).
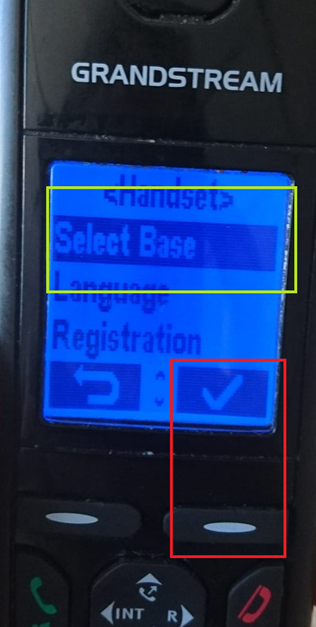
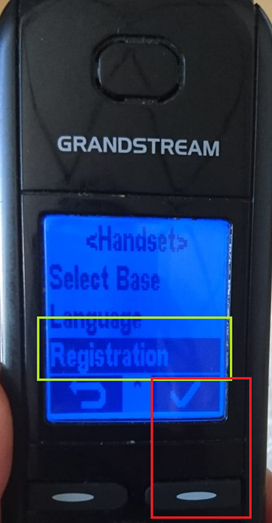
2.
Go down with arrow until Handset and press button
right (red square photo below)

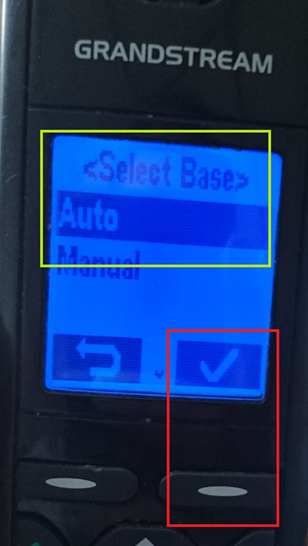
3.
Now you will see Select Base. Press same button to go
into
4.
Now select Auto and press button for validation
5.
Now in same Handset find Registration
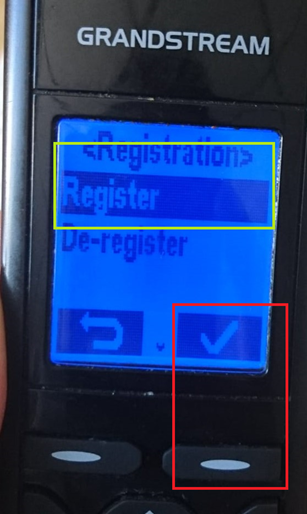
6.
Select Register
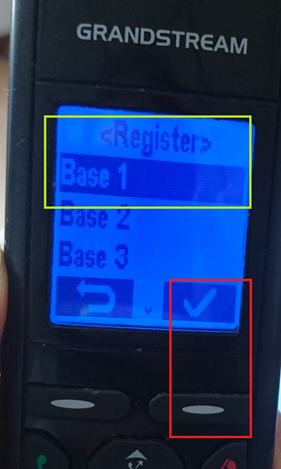
7.
Select Base 1
*After rebooting on factory settings,
you must configure your device manually. Here
References
https://www.youtube.com/watch?v=igjhI1CUoLU
End of document
* * *